Toolbar / Selection Tools
“Getting Started” - Part 11
You have returned, yet again! Previously, we have covered most of your User Account access, Project parameters and Main Menu Options. Now, we get to look at the Toolbar, where the bulk of our rich drawing tools and editing features come together. Let us explore!
Toolbar
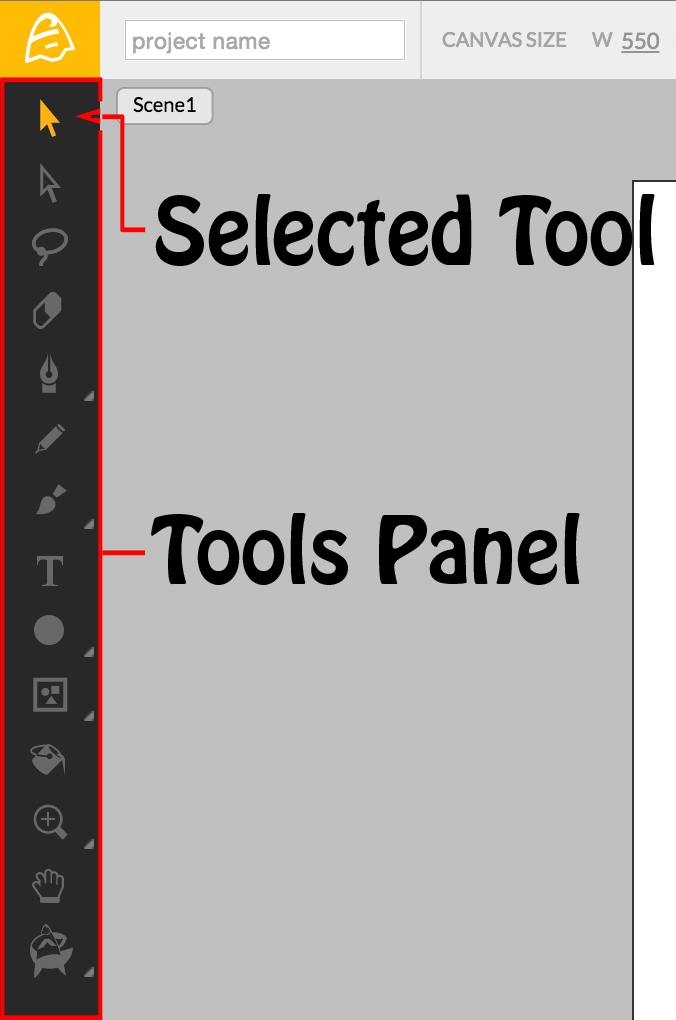
The Toolbar, located along the left side of the Workspace, shows you multiple drawing and design tools you can use to apply shapes, text and vector stamps to your Canvas.
Currently, selected tools are shown as highlighted icons.
Let us examine each set of tools and how they are used on the Canvas.
Selection Tools
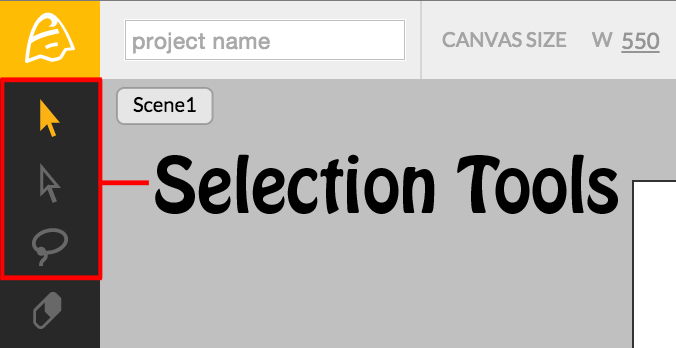
There are currently 3 different Selection Tools found at the top of the Toolbar.
Each of these particular tools is used to make Canvas selections, enabling you to move, group or edit shapes and objects.
The first is simply called the Selection Tool, which can be selected by clicking on this icon, located at the top of the Toolbar.
Selecting any unlocked vector shape on the Canvas reveals that object’s structure points, called Vector Nodes. Bezier Handles are revealed on a selected Vector Node, allowing for more refined control over the selected object, specifically its shape.
The last of the Selection Tools is the Lasso Tool. Select it by clicking on the icon.
This gives you the refined ability to easily select multiple objects in your scene while avoiding unwanted selections.
Additionally, dragging a lasso around a vector shape allows you to select areas that need to be further refined, separated from the original shape or even deleted. (Make sure to have the proper layer selected that the corresponding shape exists on!)
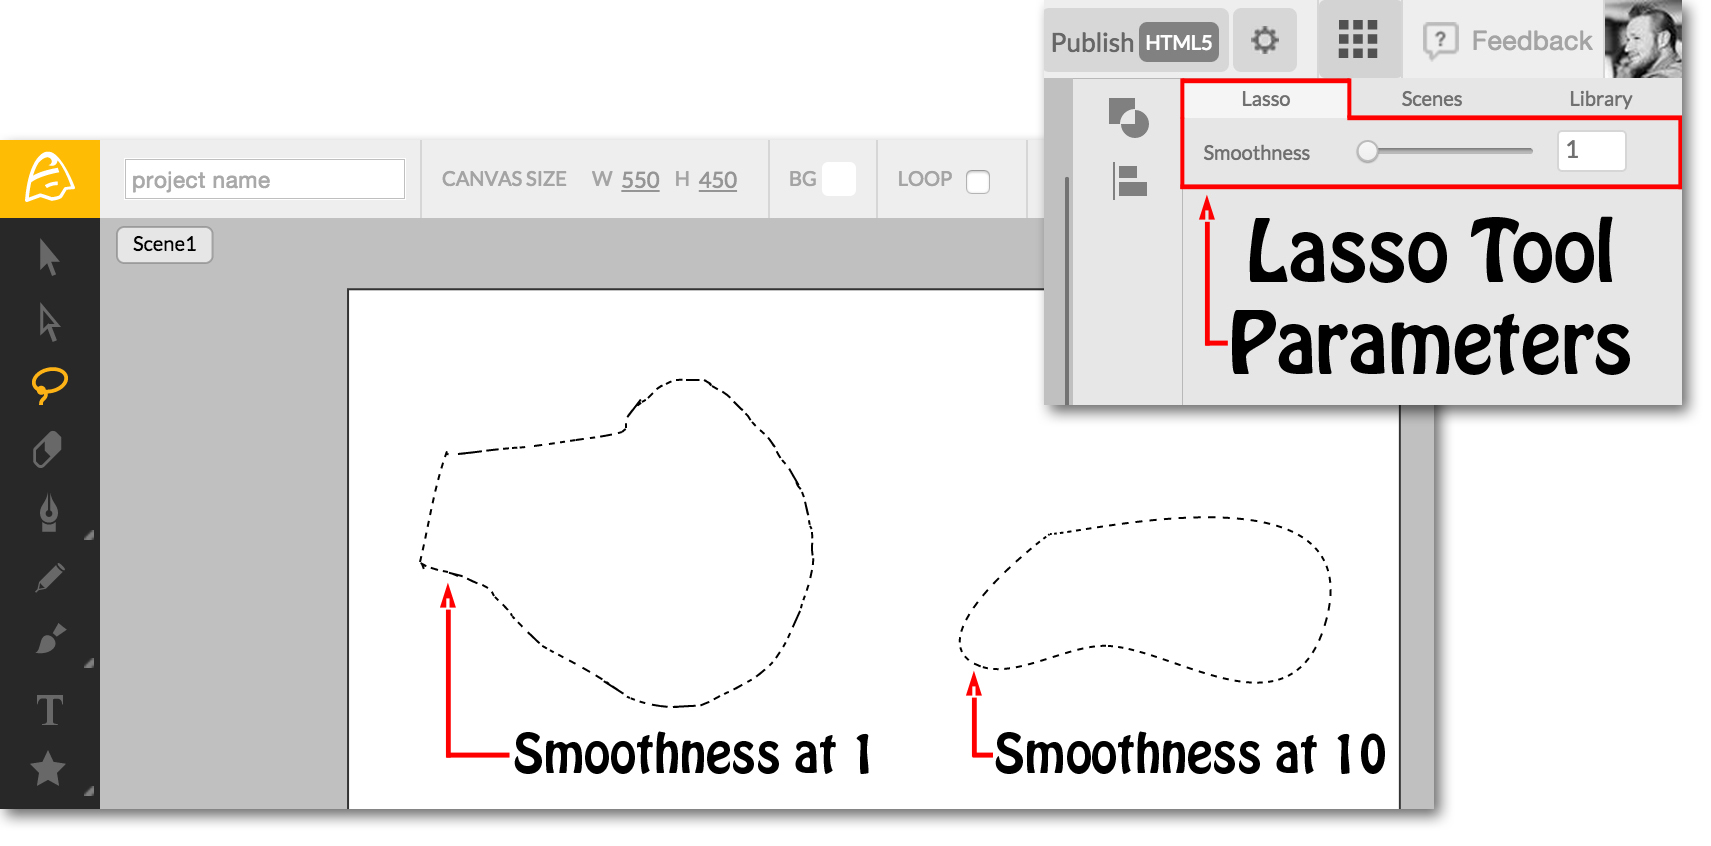
The Lasso Tool has an additional Parameter, found within the Inspector Panel, to the right side of the Animatron Editor Workspace. The Lasso Smoothness slider allows you to make smoother selections while drawing a Lasso Line.
Having covered the selection of objects, let us now review the drawing and designing tools used to create our own objects by discovering the Artisan Tools.


